Mount Meru in northern Tanzania is a dream destination for photographers. From lush forests and alpine ridges to wildlife and dramatic sunrise vistas, the mountain offers countless opportunities to capture stunning images. Whether you’re a beginner or an experienced photographer, learning how to photograph Mount Meru like a professional will help you create memorable, high-quality photos that showcase the mountain’s beauty.
1. Plan Your Shots Around Light
Lighting is the most important factor in professional photography. On Mount Meru, the best light occurs during:
- Golden hour at sunrise and sunset – creates warm, soft light for landscapes and summit shots
- Early morning – provides mist, fog, and long shadows in the forest
- Late afternoon – ideal for capturing vibrant textures and colors on ridges
Professional photographers often plan their day around these times, ensuring they are in position for the most dramatic lighting.
2. Use Composition Techniques
Composition makes your photos visually engaging. On Mount Meru, try:
- Rule of thirds – position the summit, crater, or horizon off-center
- Leading lines – use trails, ridges, or streams to guide the viewer’s eye
- Foreground interest – include flowers, rocks, or hikers to create depth
- Frame within a frame – use tree branches or volcanic rock formations to frame the subject
Experimenting with angles and perspectives will make your photos more professional and striking.
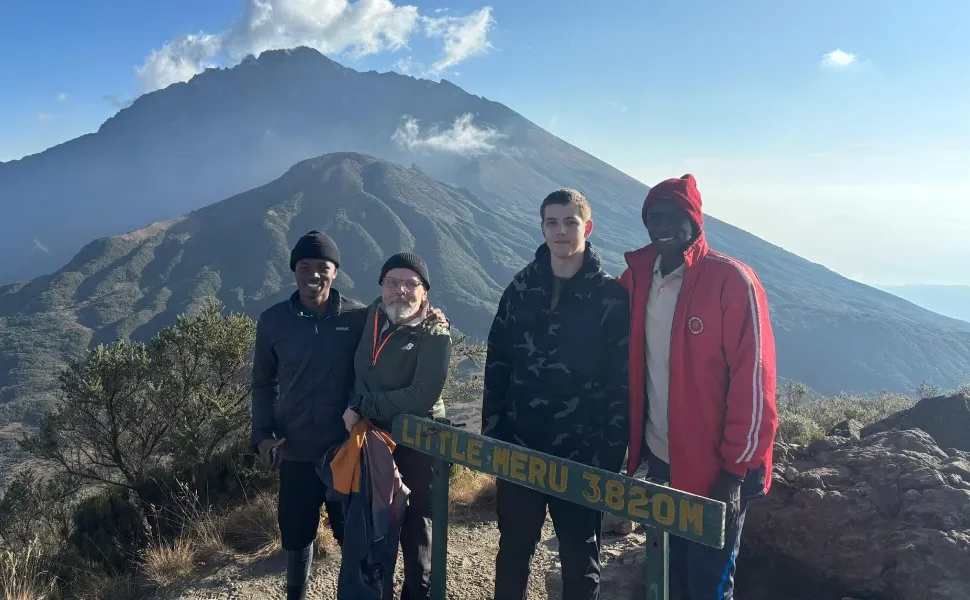
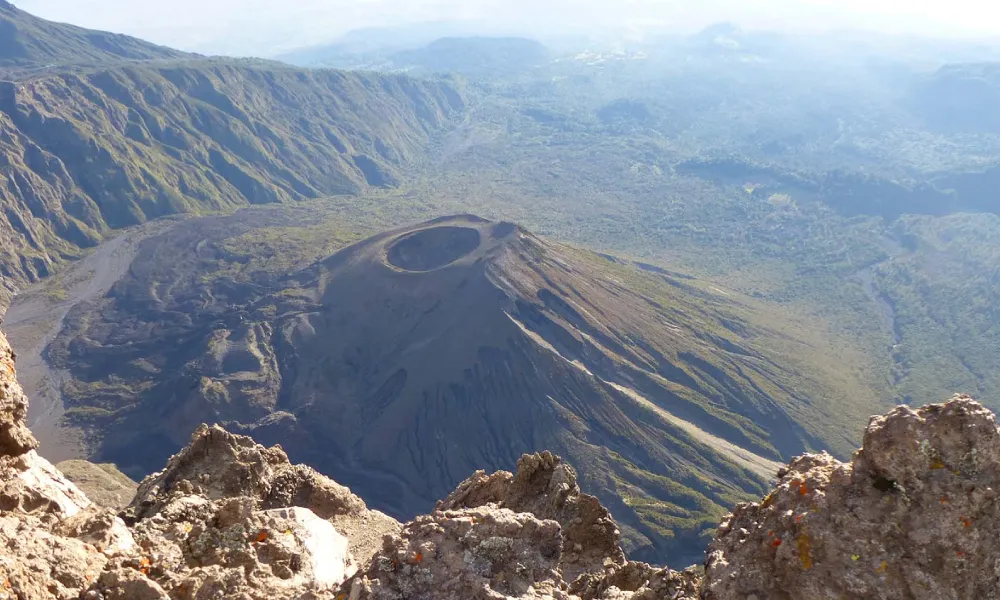
3. Capture the Summit Moments
The ultimate Mount Meru photo is from Socialist Peak at sunrise. Professional photographers focus on:
- Silhouettes of hikers against the glowing sky
- Panoramic views of the crater and surrounding plains
- Layers of clouds below your altitude
Use wide-angle lenses to capture the full scope and consider shooting a panoramic sequence for Instagram-worthy landscapes.
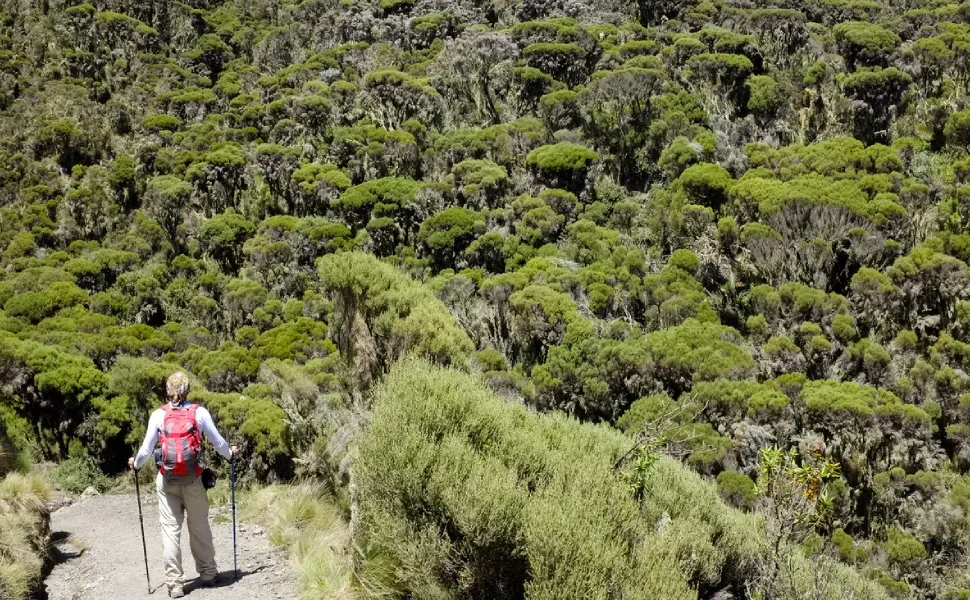
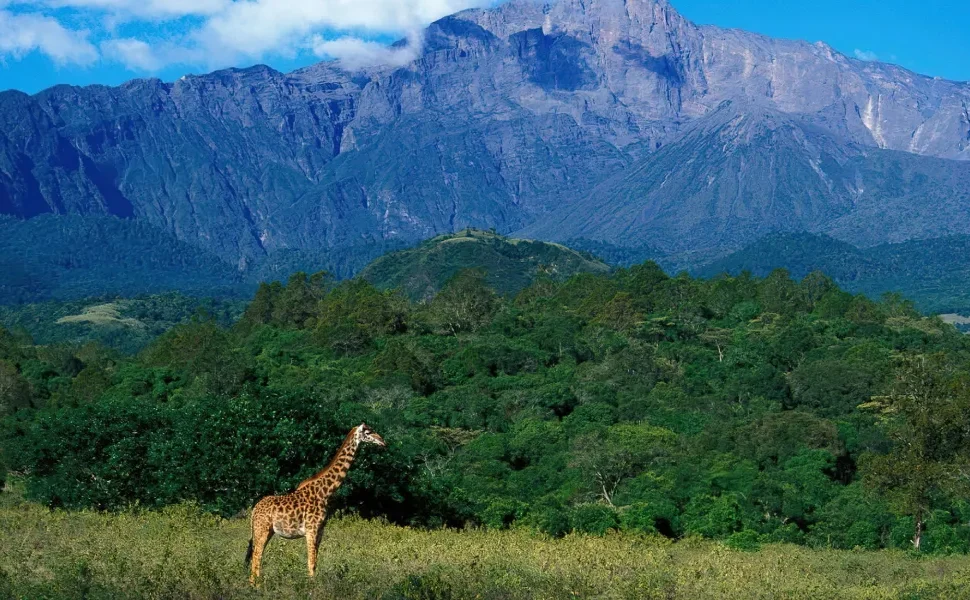
4. Highlight Wildlife and Flora
Mount Meru’s lower slopes are rich with wildlife and plant life. Professional tips include:
- Use zoom lenses to photograph giraffes, buffaloes, or monkeys safely
- Capture action – birds in flight, monkeys jumping, or animals grazing
- Macro shots – flowers, moss, and insects in the forest trails
These images add variety to your portfolio and highlight the ecological diversity of the mountain.
5. Work with Textures and Colors
Mount Meru is full of textures and vibrant colors:
- Rainforest greens contrasted with volcanic rock
- Misty crater walls with sunlit peaks
- Colorful local flora in the montane zones
Professional photographers often use natural light to emphasize textures and capture the mountain’s natural palette.
6. Protect Your Gear
Professional results require keeping your equipment safe:
- Carry rain covers for cameras and lenses
- Use sturdy tripods on rocky terrain
- Pack lens cloths for cleaning mud and condensation
Keeping your gear safe ensures consistent image quality throughout the trek.
7. Post-Processing for Professional Results
Editing is key to professional photography. Enhance your Mount Meru shots by:
- Adjusting contrast, brightness, and saturation subtly
- Sharpening details to highlight textures
- Correcting horizon lines and perspective
- Creating panoramas for wide scenic views
Professional-looking photos are often the result of thoughtful editing combined with careful composition.
Plan Your Professional Mount Meru Photography Trek
Tanzania Hiking offers guided Mount Meru treks that include insider tips for photography, optimal shot locations, and support for capturing wildlife and landscapes. Our local guides help you plan your route to maximize light, angles, and scenic opportunities.
- Email: info@tanzaniahiking.com
- WhatsApp: +255 752 213 715 / +255 754 557 877
Request a Quote for Your Mount Meru Photography Adventure
Ready to photograph Mount Meru like a professional?
Fill out the request-a-quote form below, and our team will craft a custom itinerary designed for trekking, wildlife viewing, and capturing the mountain’s most photogenic locations.